Example


画像を簡単なCSSでレスポンシブ,キーボードアクセシビリティ対応のポップアップ表示する
WordPress界隈では、画像のポップアップは javascriptを使ったプラグインを利用するのが普通だと思います
画像は、クリックしたりしても:focusや:activeは、使えないためです。CSSだけで実装するLightBoxは、:target 等を使っている例が多いのではないかと思います。
この例は、:target は使わず、よりシンプルに、キーボードアクセシビリティにも対応、レスポンシブデザインにも対応のポップアップビューを実装します。
え、? 動かない! よく見てください。この実装の最大のポイントは、tabindex="0" なんですよ~
img 要素に popup クラスも忘れずに追加してくださーい
リンク付き画像の場合は、リンクに飛んで行ってしまいますので、リンクを無効にするスタイル等と組み合わせた、もうひと手間かけたスタイル設定が必要になります。
You can :focus on a img and :active on a image
HTML
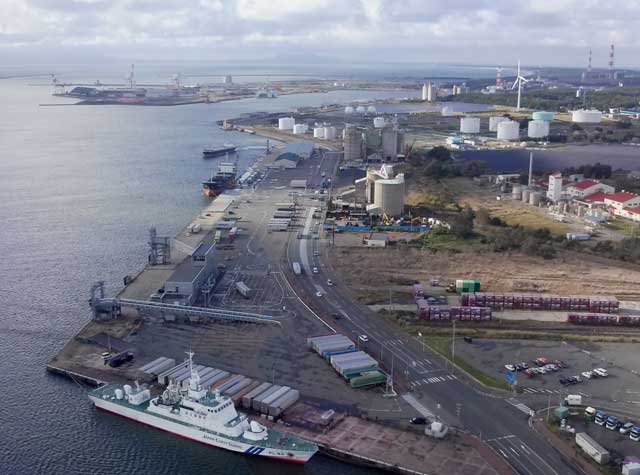
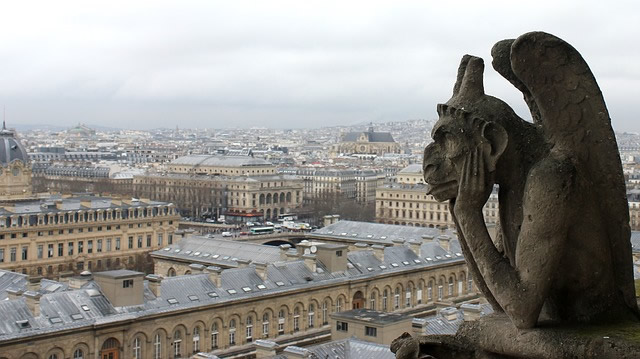
<img src="https://tenman.info/labo/css/files/tutizaki-bay.jpg" alt="test" width="640" height="475" class="popup size-full wp-image-1157" tabindex="0" />
<img src="https://tenman.info/labo/css/files/notre.jpg" alt="test" width="640" height="359" class="popup size-full wp-image-1548" tabindex="0" />
<img src="https://tenman.info/labo/css/files/hasu-sensyu-park.jpg" alt="test" width="640" height="475" class="popup size-full wp-image-1165" tabindex="0" />
<img src="https://tenman.info/labo/css/files/yakeisidake-300x186.jpg" alt="test" width="300" height="186" class="popup size-medium rd-active-effect type-red" tabindex="0" />
CSS
.popup:focus, .popup:active {
 position: fixed;
 top:0;
 left:0;
 right:0;
 bottom:0;
 margin:auto;
 height: auto;
 z-index: 100;
 background: #fff;
 padding: 20px;
 outline: 1px solid #aaa;
 max-width:60vw;/* 画像が大きい場合は、適宜調整 */
}
.popup {
 height: 96px;
 width:auto;
 cursor: pointer;
 display: inline;
}
2017・2・28 positionをabsoluteからfixedに変更しました